

Characteristics and Repair of Capacitor Damage on Circuit Boards
Capacitor damage is the most common fault in electronic devices, with electrolytic capacitors being particularly susceptible.
Capacitor damage manifests as: 1. Reduced capacitance 2. Complete loss of capacitance 3. Leakage; 4. Short circuit

Characteristics and Identification of Resistor Damage
Many beginners often struggle with resistors when troubleshooting circuit boards, taking them apart and soldering unnecessarily. However, once you understand the characteristics of resistor damage, it becomes less complicated.
Resistors are the most numerous components in electronic devices, but they are not the most commonly damaged. An open circuit is the most common type of resistor damage, while an increase in resistance is less frequent, and a decrease in resistance is extremely rare. Common types of resistors include carbon film resistors, metal film resistors, wire wound resistors, and fusible resistors.
You can start by inspecting low-value resistors on the circuit board for any signs of burn marks. Most damaged resistors have either an open circuit or an increased resistance value, and high-value resistors are more prone to damage. You can use a multimeter to directly measure the resistance of high-value resistors on the circuit board. If the measured resistance is greater than the nominal value, the resistor is likely damaged. Make sure to wait for the resistance reading to stabilize before drawing conclusions because capacitors in parallel with the resistor might undergo a charging or discharging process. If the measured resistance is less than the nominal value, you generally don’t need to pay it much attention. By measuring every resistor on the circuit board this way, you won’t overlook any potential issues, even if you mistakenly identify some.
Methods for Assessing the Quality of Operational Amplifiers (Op-Amps)
Operational amplifiers have characteristics of ‘virtual short’ and ‘virtual open,’ which are extremely useful when analyzing op-amp circuits for linear applications. To ensure linearity, op-amps must operate with feedback (negative feedback). Without feedback, an op-amp in open-loop operation acts as a comparator. To determine the device’s condition, first identify whether it is used as an amplifier or a comparator in the circuit.
According to the principle of the virtual short, if the operational amplifier is functioning properly, the voltage at its non-inverting input and inverting input terminals should be equal, and even if there is a difference, it is in the millivolt range. Of course, in some high input impedance circuits, the internal resistance of the multimeter may have a slight effect on voltage measurements, but it should not exceed 0.2V. If you observe a difference exceeding 0.5V, it is a clear indicator of a faulty operational amplifier.
If the device is used as a comparator, it is allowed for the non-inverting and inverting inputs to have unequal voltages. When the non-inverting voltage is greater than the inverting voltage, the output voltage approaches the positive maximum. If you detect voltages that do not follow this rule, the device is likely faulty.
This method allows you to assess the operational amplifier’s condition without using substitution methods or removing chips from the circuit board.
1. Handy Tip for Testing SMT Components with a Multimeter
Some surface-mount technology (SMT) components are very small, and testing them with conventional multimeter probes can be inconvenient and may risk short circuits or difficulty accessing the metal part of the component due to insulating coatings. Here’s a simple and convenient method to make testing easier.
Take two of the smallest sewing needles, attach them tightly to your multimeter probes, and then use fine copper wire from a multi-strand cable to secure the probes and needles together with the solder. This setup allows you to test SMT components with needle-tipped probes without the risk of short circuits. The needle tips can pierce insulating coatings and reach key areas without the need to scrape them off.
2. Troubleshooting Methods for Circuit Board Common Power Short-Circuits
When troubleshooting circuit boards with common power short-circuit faults, it can be challenging, especially when multiple components share the same power source. The more components on the board, the more challenging it becomes to locate the short-circuit point using a ‘sweeping’ method. In such cases, a more efficient method can be recommended, significantly reducing the time needed to identify the faulty component.
To employ this method, you need an adjustable voltage and current power supply with a voltage range of 0-30V and a current range of 0-3A. Such power supplies are not very expensive, typically around $300. Start by setting the open-circuit voltage to the component’s power supply voltage level. Then, turn the current to its minimum and apply this voltage to the power supply point on the circuit, such as the 5V and 0V terminals of 74-series chips. Depending on the severity of the short circuit, slowly increase the current while touching components with your hand. When you feel significant heating from a particular component, it is likely the faulty one. You can then remove it for further measurements. Make sure not to exceed the component’s operating voltage, and avoid reverse polarity to prevent damage to other good components.
Led Displ
3. A Small Eraser to Solve Big Problems
As industrial control systems use more and more plug-in cards, many of them employ gold-finger connectors. Harsh industrial environments, such as dust, humidity, and corrosive gases, can lead to poor contact issues with plug-in cards. While some may resolve the problem by replacing the entire card, this can be expensive, especially for imported equipment. Instead, try using a rubber eraser. Gently rub the gold fingers with an eraser to remove dirt and contamination, then reinsert the card. This simple method can be quite effective.
Analyzing Intermittent Electrical Faults
Intermittent electrical faults can be categorized into several probability scenarios, including:
4. Poor Contact
Poor contact between plug-in cards and slots
Internal wire breaks that work intermittently
Poor contact between wire connectors and terminals
Component solder joints that are insufficiently connected
5. Signal Interference
In digital circuits, specific fault conditions must exist for the problem to manifest, which could be due to excessive interference affecting the control system. Alternatively, certain components or their parameters may have changed, causing the fault.
Poor Thermal Stability of Components
In practice, electrolytic capacitors are often found to have poor thermal stability. Other components, such as capacitors, transistors, diodes, ICs, and resistors, may also exhibit thermal
stability issues.
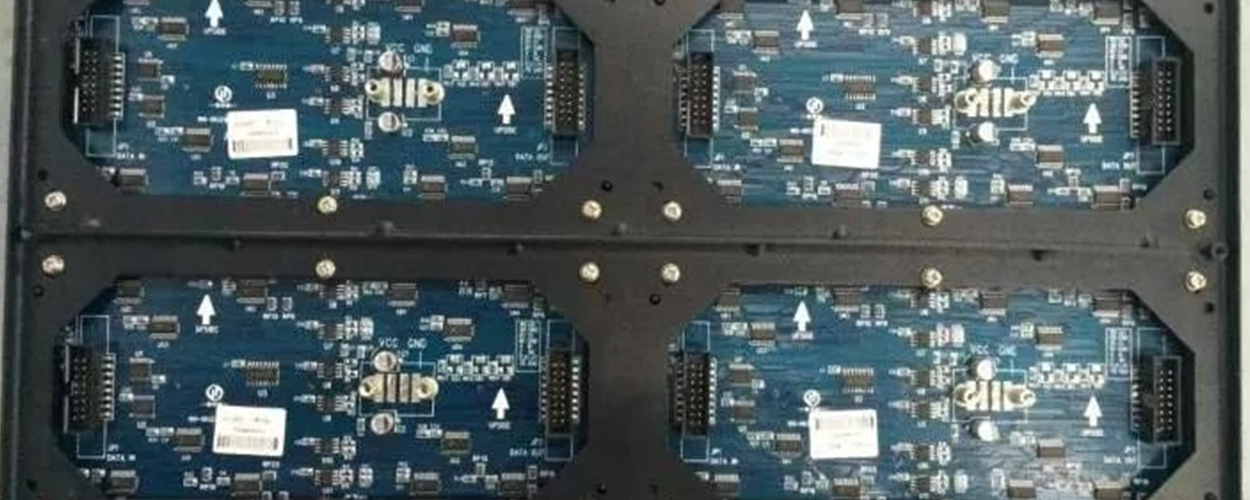
6. Moisture and Dust on the Circuit Board
Moisture and dust can conduct electricity, having a resistive effect. During thermal expansion and contraction, the resistance value may change, impacting circuit parameters and causing faults.
7. Software Considerations
Software controls many circuit parameters. If the margin for certain parameters is set too low and the machine’s operating conditions align with the software’s criteria for a fault, an alarm can be triggered.”
Please note that this translation is a rough interpretation of the provided text, and some technical terms may vary depending on the specific context. If you have any specific questions or need further clarification, feel free to ask.
Post time: Oct-19-2023